PV Combiner Box Installation: Step-by-Step Guide for Installers
A properly installed PV combiner box is vital for solar array safety and performance. Follow these steps for a professional and safe installation.
Step 1: Site Preparation
Choose a shaded, accessible location near the solar panel strings. Secure a weatherproof mounting surface.
Step 2: Mount the Combiner Box
Use corrosion-resistant fasteners to fix the box securely. Ensure it’s level and grounded according to NEC codes.
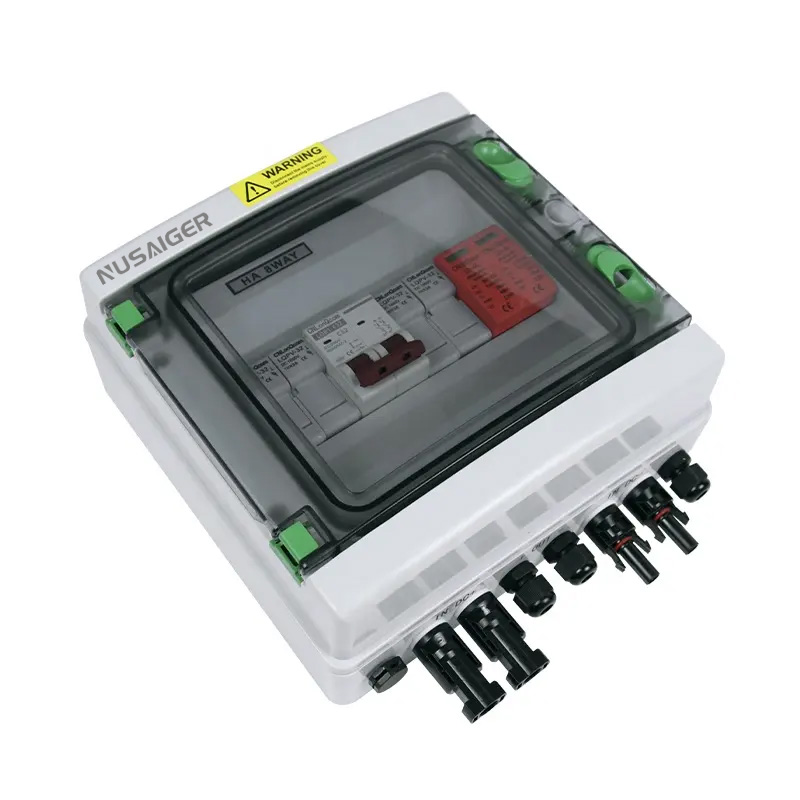
Step 3: Connect Solar Strings
Insert each string’s positive and negative conductors into their assigned fuse holders. Tighten all connections securely.
Step 4: Connect to the Inverter
Route the combined DC output cables from the combiner box to the inverter. Label each cable for future maintenance.
Step 5: Test and Verify
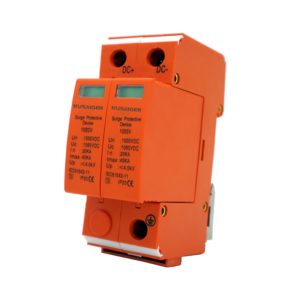
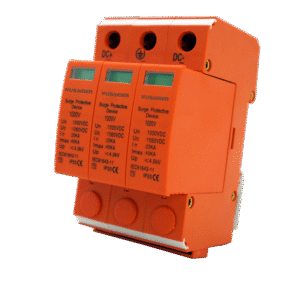
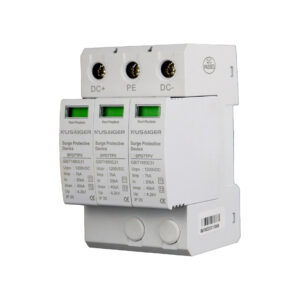
Check polarity, voltage, and current using a multimeter. Ensure proper fuse placement and SPD functionality.
Conclusion
Following these installation steps helps ensure your PV combiner box performs safely and reliably for years to come.