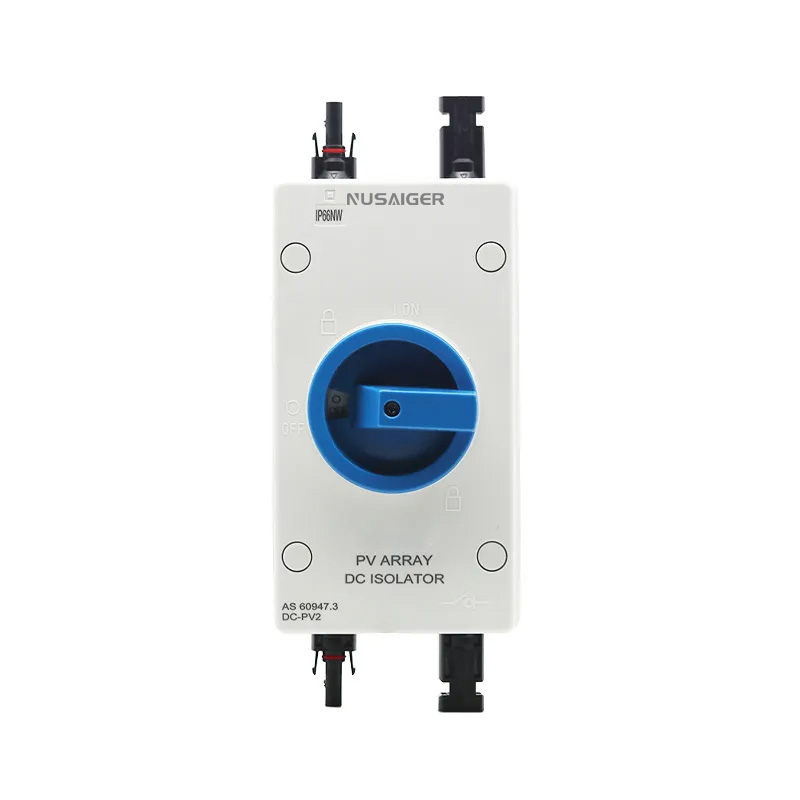
How to Install a Solar Isolator Switch Safely and Correctly
Proper installation of a solar isolator switch is critical for the safety and longevity of your PV system. Here’s a basic step-by-step guide to help you perform a safe installation.
Step 1: Choose the Right Location
The switch should be installed in an accessible location, ideally close to the inverter or rooftop array, depending on regulatory requirements.
Step 2: Turn Off Power
Always disconnect the solar array and inverter before beginning any installation work.
Step 3: Secure the Mounting
Use screws and waterproof fittings to mount the isolator securely on a flat surface.
Step 4: Connect the Wiring
Follow the isolator’s wiring diagram and ensure polarity is correct. Use suitable DC-rated cables and connectors.
Step 5: Test the System
Once connected, check the switch function by toggling on and off and verifying the DC voltage response.
Installation should always be performed by a certified electrician following local regulations and manufacturer instructions.


