How to Properly Install a PV Combiner Box: Step-by-Step Guide for Solar Technicians
Installing a PV combiner box correctly is critical to the safety, performance, and durability of any solar photovoltaic (PV) system. A poorly installed box can lead to excessive power loss, fire hazards, or equipment failure. This guide walks solar installers and field technicians through the complete process of PV combiner box installation — from site preparation and equipment selection to cabling, grounding, and final commissioning.
1. Overview: What Is a PV Combiner Box and Why Installation Matters
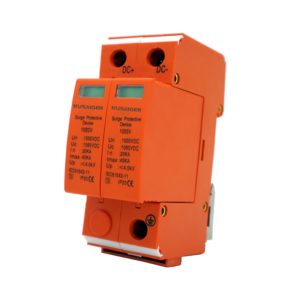
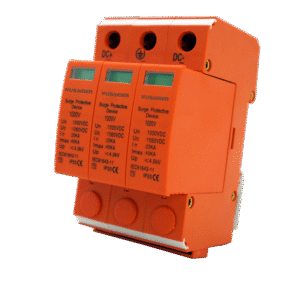
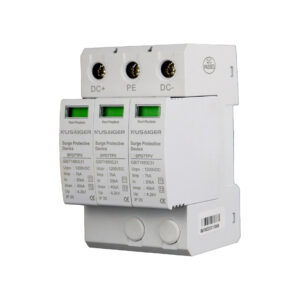
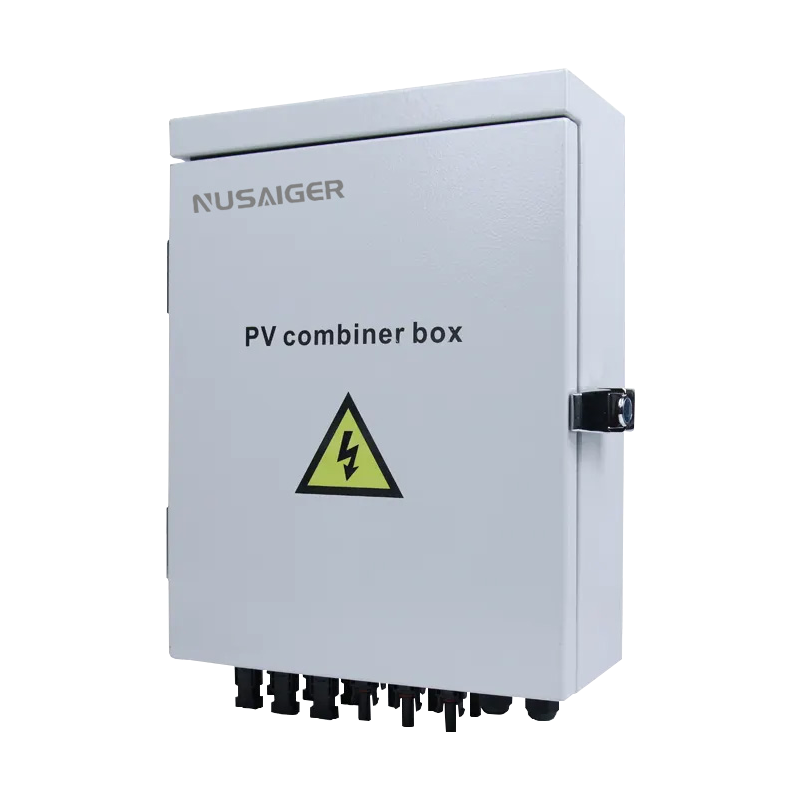
A PV combiner box is a junction point that merges multiple solar panel strings into one output circuit. It usually includes string-level fuses, surge protection, grounding, and sometimes monitoring. Because it deals with high DC voltages (600V to 1500V), proper installation is essential for safety and compliance with standards like NEC 690, IEC 61439, or UL 1741.
2. Tools and Materials Checklist
Before beginning the installation, ensure you have the following:
- Fully assembled PV combiner box
- DC-rated fuses or MCBs (if not pre-installed)
- PV cables (sized according to current/voltage drop)
- MC4 connectors or equivalent
- Crimping tools and wire strippers
- Multimeter or clamp meter (DC)
- Drill and mounting tools
- Grounding cable, clamps, and copper rods
- Labeling tape and insulation sleeves
- PPE: gloves, safety glasses, arc flash protection (if required)
3. Step 1: Site Selection and Box Positioning
Choose a dry, shaded, and accessible location as close as possible to the PV strings. Avoid areas prone to flooding, overheating, or rodent activity. If outdoors, ensure the combiner box has an IP65 or higher rating.
Mounting height should typically be between 1.2m and 1.5m from ground level for ergonomic access.
4. Step 2: Mounting the PV Combiner Box
- Use a spirit level to ensure the box is straight.
- Mark and drill holes on the wall or mounting pole.
- Use stainless steel bolts for corrosion resistance.
- Ensure proper mechanical fastening to reduce vibration.
5. Step 3: Connecting PV String Inputs
Each string of panels should have its positive and negative cables clearly marked. Strip and crimp connectors using MC4-compatible tools, then insert each pair into the appropriate terminal (usually labeled as String 1+, String 1−, etc.).
Check polarity with a multimeter before connection. Reversed polarity can destroy internal components.
6. Step 4: Output Connection to Inverter or DC Cabinet
The combined positive and negative output lines leave the combiner box toward the inverter. Use cables rated for the total combined current (e.g., 200A for 10 strings @ 20A each).
- Use terminal lugs rated for the conductor size.
- Ensure tight connections (torque to manufacturer specs).
- Route the cables neatly and securely with cable ties or trays.
7. Step 5: Grounding and Lightning Protection
Grounding protects personnel and equipment. Connect the internal grounding bar of the combiner box to