Step-by-Step Installation Guide for PV Combiner Boxes in Residential Solar Systems
As residential solar installations become more popular, the demand for clear, safe, and code-compliant installation methods is higher than ever. One essential component in a residential photovoltaic (PV) system is the PV combiner box. This article will walk you through the full installation process, from system design to final testing, including the tools required, wiring diagrams, safety measures, and troubleshooting tips.
1. What is a PV Combiner Box?
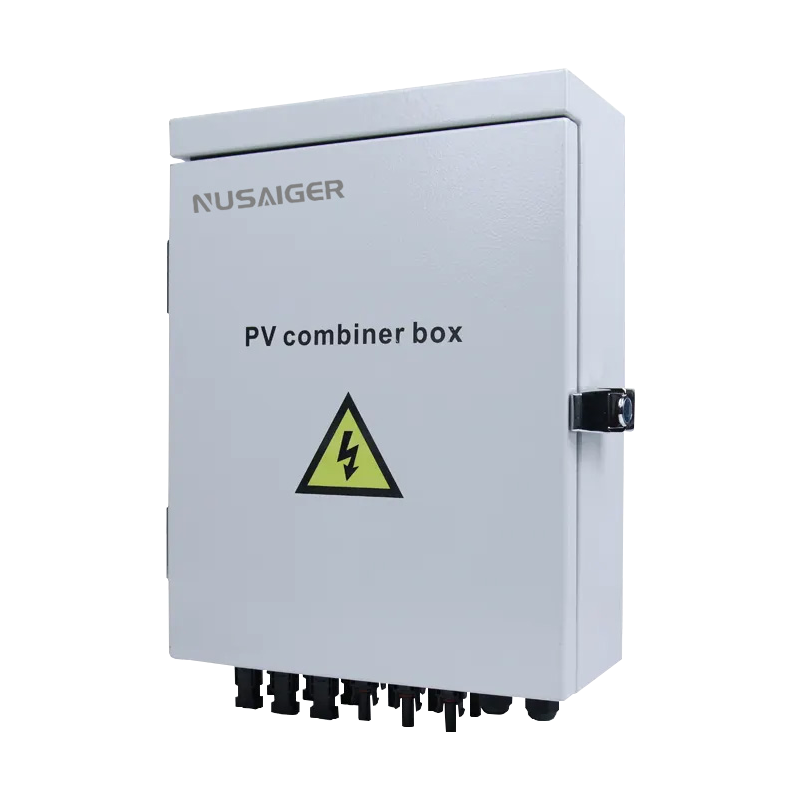
A PV combiner box is an enclosure used to combine the outputs of multiple solar panel strings into a single DC output. It typically includes fuses, a DC disconnect switch, surge protection, and terminal blocks, serving as a centralized connection point between solar panels and the inverter.
2. When Do You Need a Combiner Box in Residential Systems?
- When you have more than one PV string (2 or more strings)
- To simplify DC wiring to the inverter
- To comply with NEC 690.4 for disconnect and protection
- To centralize safety, maintenance, and monitoring
3. Tools and Materials Required
- PV combiner box (4–8 input recommended)
- MC4 crimping tool and connectors
- Torque wrench
- Multimeter or clamp meter
- DC fuses (typically 15A–20A per string)
- Type 2 surge protection device (SPD)
- Grounding wire and lugs
- Cable glands and UV-resistant cable ties
- DC disconnect switch (internal or external)
- Conduit and junction boxes (as required)
4. Installation Planning and Safety
4.1 Determine Location
Choose a location close to the array and shaded from direct sunlight. Ensure the box is accessible for maintenance but protected from heavy weather exposure.
4.2 Safety Considerations
- Always de-energize all circuits before starting work.
- Wear insulated gloves and safety glasses.
- Follow local electrical codes and NEC regulations.
- Use lockout-tagout procedures when necessary.
5. Wiring the Combiner Box
5.1 Connect PV Strings
- Each PV string’s positive wire goes through a fuse holder or MCB.
- Negative wires typically connect directly to the negative busbar.
- Secure the wires using cable glands and mark each string clearly.
5.2 Grounding
Connect the ground wire from each panel frame to a dedicated grounding busbar inside the combiner box. Then connect this bar to your system ground using a #6 or larger copper wire.
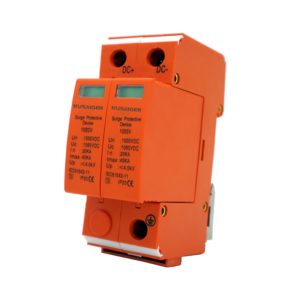
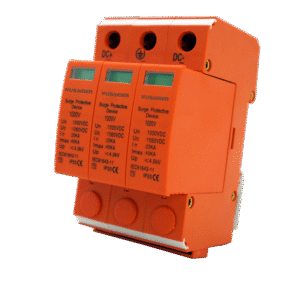
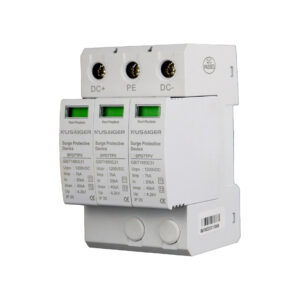
5.3 Surge Protection
Install a Type 2 SPD across the positive and negative busbars and ground. Ensure the SPD rating matches your system voltage (600VDC or 1000VDC).
5.4 Output Connections
Route the combined output (positive and negative) to the DC disconnect and then onward to the inverter. Use appropriately sized conductors (e.g., 10 AWG or 8 AWG) based on your maximum current.
6. Labeling and Compliance
According to NEC 690, all connections must be labeled with:
- String numbers
- Voltage rating
- Current rating
- Ground symbols
Additionally, label the combiner box itself with “PV DC Combiner Box” and the maximum system voltage.
7. Testing and Commissioning
7.1 Continuity Test
Verify all wire terminations and ensure no shorts exist between positive, negative, and ground.
7.2 Open-Circuit Voltage
Measure voltage from each string to ensure they are equal within 5–10V range. Differences may indicate faulty panels or wiring errors.
7.3 Polarity Check
Use a multimeter to confirm the correct polarity from the combiner box to the inverter. Reversed polarity can damage electronics.
7.4 Insulation Resistance Test (Megger)
Optional but recommended for installations in humid or coastal areas. Ensure at least 1MΩ resistance between each conductor and ground.
8. Troubleshooting Tips
- No Voltage: Check fuses and ensure panel connectors are clicked into place.
- Voltage Drop Across Strings: Inspect for shading or damaged panels.
- Tripped SPD: Replace surge device if LED indicator shows failure.
- Loose Connections: Re-tighten all terminals using torque specs from the manufacturer.
9. Maintenance Recommendations
- Visual inspection every 6 months
- Tighten connections annually
- Replace fuses or SPD as needed
- Check for moisture or insects inside the enclosure
10. Frequently Asked Questions
Q1: Can I install the combiner box indoors?
Yes, but ensure the cables from the panels are protected and properly sealed where they enter the building. Outdoor-rated boxes are better suited for rooftop arrays.
Q2: What size fuse should I use?
Typically, 15A or 20A DC fuses are used for residential modules. Check the module’s Isc and NEC 690.8(A) for precise calculations.
Q3: Can I use a combiner box without a surge protector?
It’s not recommended. Lightning-induced surges can easily damage your inverter. A Type 2 SPD is a small investment that can prevent costly equipment failure.
11. Conclusion
Installing a PV combiner box in a residential solar system is not overly complicated, but it requires attention to detail and adherence to safety codes. With this guide, homeowners and installers alike can ensure a safe, efficient, and NEC-compliant installation. A properly installed combiner box not only improves performance but also makes maintenance easier and protects downstream components from damage.