How to Install and Maintain a PV Combiner Box for Long-Term Safety and Efficiency
Installing and maintaining a PV combiner box properly is critical for ensuring safety, efficiency, and long-term reliability in solar photovoltaic (PV) systems. Incorrect installation can lead to serious issues such as electrical faults, fire risks, and system downtime. This comprehensive guide explains best practices for installation, regular inspection, and troubleshooting of PV combiner boxes.
1. Why Installation and Maintenance Are Crucial
A PV combiner box collects multiple solar panel strings into one main DC output. It provides overcurrent protection, surge protection, isolation, and monitoring. Poor installation or lack of maintenance can result in overheating, equipment failure, or reduced energy yield. Following correct procedures reduces risks and ensures system longevity.
2. Pre-Installation Checklist
- Verify combiner box ratings (voltage, current, string capacity).
- Check for certifications (IEC, UL, TUV) to ensure compliance.
- Prepare tools: insulated screwdrivers, torque wrenches, crimping tools, and personal protective equipment (PPE).
- Confirm inverter compatibility and design parameters.
3. Choosing the Right Location
Location plays a key role in reliability:
- Outdoor installations require IP65 or higher for dust and water protection.
- Install in shaded areas to reduce thermal stress.
- Ensure accessibility for maintenance personnel.
- Mount at least 0.5 m above ground to avoid flooding.
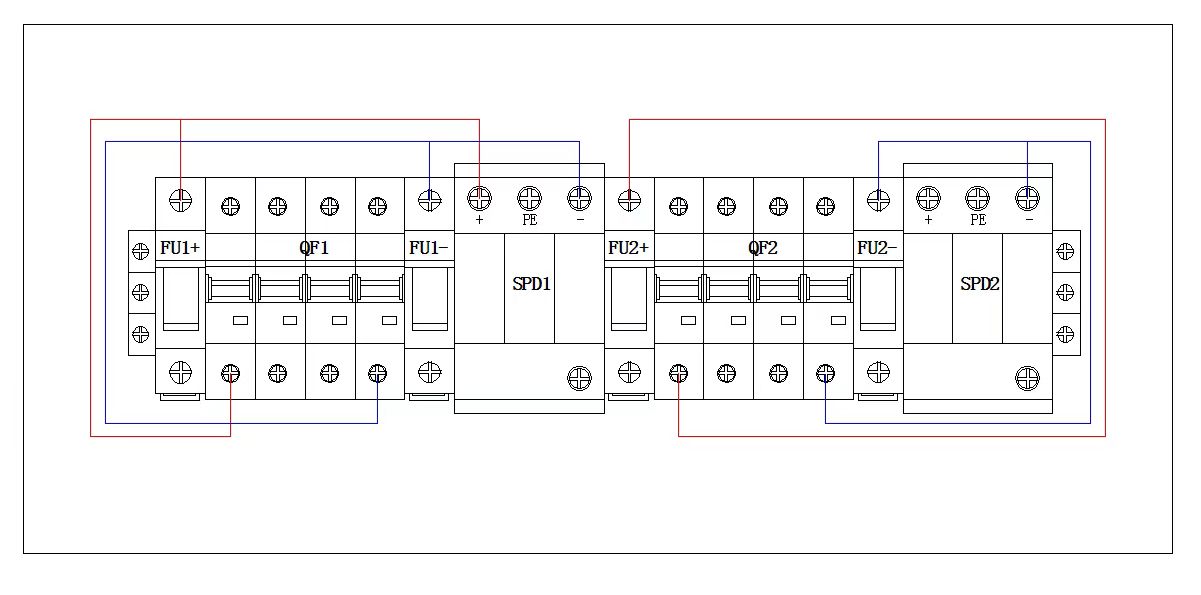
4. Wiring Guidelines
Proper wiring ensures safe operation:
- Connect positive and negative DC inputs to the correct terminals.
- Verify polarity before energizing.
- Use the correct cable size to avoid overheating.
- Tighten all terminals with the recommended torque to prevent loose connections.
- Bond grounding cables securely to avoid potential hazards.
5. Initial Testing and Commissioning
- Perform insulation resistance testing.
- Check voltage levels across each string.
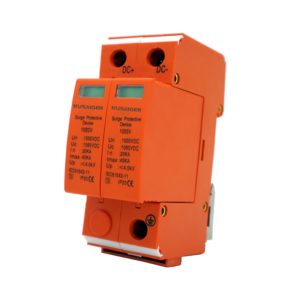
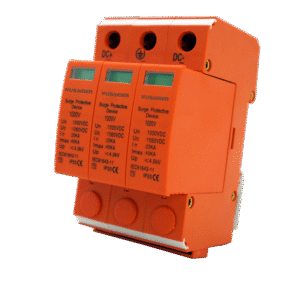
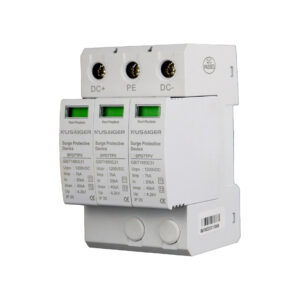
- Verify SPD (Surge Protective Device) functionality.
- Conduct thermal imaging to detect hotspots.
- Document test results for future reference.
6. Regular Maintenance Schedule
Establish a structured inspection plan:
| Frequency | Maintenance Tasks |
|---|---|
| Monthly | Visual inspection, check for dust, dirt, and water ingress. |
| Quarterly | Tighten connections, inspect SPDs, check cable insulation. |
| Annually | Replace worn fuses, clean enclosure, perform full thermal inspection. |
7. Common Issues and Troubleshooting
- Blown fuses: Replace with the correct rated fuse, investigate string mismatch.
- SPD failure: Replace immediately to maintain surge protection.
- Loose connections: Retighten and recheck torque settings.
- Moisture or corrosion: Check IP rating and reseal enclosure.
- Monitoring failure: Reset communication module or replace faulty sensors.
8. Safety Precautions
- Never perform maintenance under load; disconnect the DC supply first.
- Use insulated gloves and tools.
- Apply lockout/tagout (LOTO) before working.
- Always verify zero voltage before touching conductors.
9. Best Practices for Efficient O&M
Enhance reliability with these practices:
- Adopt smart combiner boxes with built-in monitoring.
- Enable remote diagnostics and alarms for faster response.
- Record all inspections and service reports for system history.
- Train O&M staff regularly on safety and best practices.
10. Conclusion
Proper installation and regular maintenance of PV combiner boxes significantly reduce safety risks and increase system efficiency. By following structured procedures, solar project owners and operators can ensure long-term reliability, minimize downtime, and maximize energy yield.