Common Installation Mistakes with Solar Isolator Switches and How to Avoid Them
Installing a solar isolator switch (SISO) seems simple, but even minor errors can compromise system safety and performance. Here’s a list of the most common installation mistakes and expert tips to avoid them.
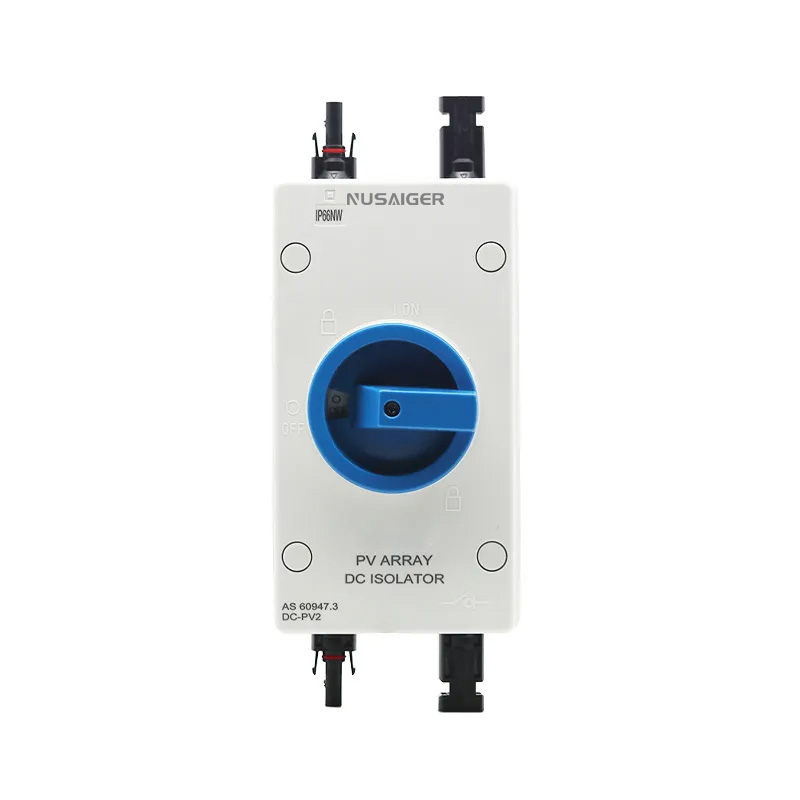
1. Improper Positioning
The isolator should be installed close to the photovoltaic array or inverter, in a location that’s accessible and clearly labeled. Avoid placing it in shaded or awkward locations that could delay emergency access.
2. Incorrect Wiring Connections
Polarity mistakes, reversed input/output terminals, or inadequate torque can lead to overheating and equipment damage. Always follow the wiring diagram and double-check all connections with a multimeter.
3. Use of Inappropriate Cable Sizes
Using cables that are too thin or not rated for DC voltage can lead to voltage drops or even fires. Make sure cables match the current load and environmental conditions (UV resistance, temperature, etc.).
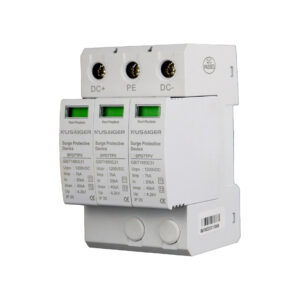
4. Skipping Grounding Requirements
Some isolators require grounding to function safely. Ensure proper grounding per local electrical codes to avoid electric shock hazards and ensure lightning protection.
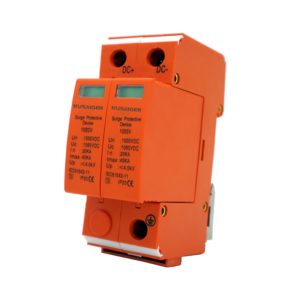
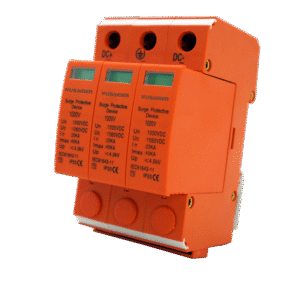
5. Non-Compliant Equipment
Using isolator switches not rated for DC or non-compliant with IEC/UL standards can void warranties and fail inspections. Choose certified equipment from reputable manufacturers.
Conclusion
Correct installation of your solar isolator switch ensures long-term system reliability and personal safety. Investing time in proper procedures now prevents expensive repairs and liabilities later.