How to Properly Install MC4 Solar Connectors: Step-by-Step Guide
MC4 connectors are a key component in solar energy systems, ensuring safe and reliable connections between solar panels. Whether you’re a DIY enthusiast or a certified installer, knowing how to properly install MC4 connectors is critical for system performance and safety.
Tools You’ll Need
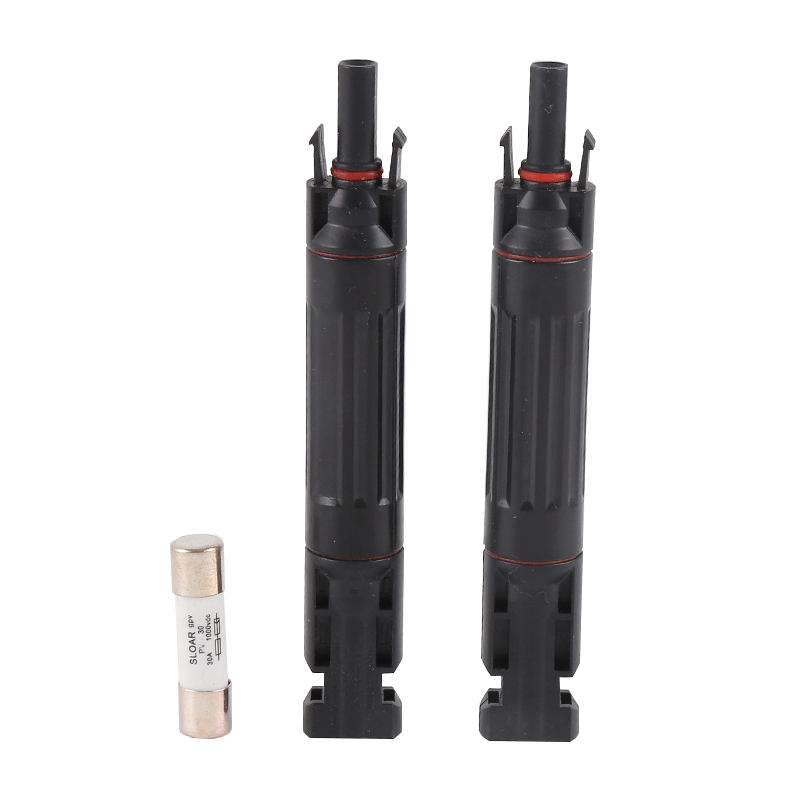
- MC4 connector set (male and female)
- Wire stripper
- MC4 crimping tool
- Multimeter for testing
- Insulation tape (optional)
Step-by-Step Installation
1. Strip the Cable
Use a wire stripper to carefully strip about 7–9 mm of insulation from the end of your solar cable.
2. Insert and Crimp the Terminal
Insert the bare copper conductor into the MC4 terminal, then use a crimping tool to firmly attach the terminal to the cable.
3. Insert Terminal into Connector
Push the crimped terminal into the MC4 housing until you hear a ‘click’. Ensure the terminal is securely locked in place.
4. Tighten the End Cap
Screw on the waterproof cap at the rear of the connector to seal the cable and provide strain relief.
5. Test the Connection
Use a multimeter to test continuity and ensure proper polarity before powering your system.
Tips for a Successful Installation
- Use only certified tools and original MC4 connectors.
- Double-check polarity (positive and negative terminals).
- Ensure connectors are fully mated until they click into place.
- Avoid over-tightening, which can damage the internal pins.
Conclusion
Correctly installing MC4 connectors helps prevent system failures, ensures weatherproof performance, and supports long-term solar system reliability. Whether you’re setting up a rooftop PV array or a ground-mounted installation, following these steps can make a big difference.