Introduction
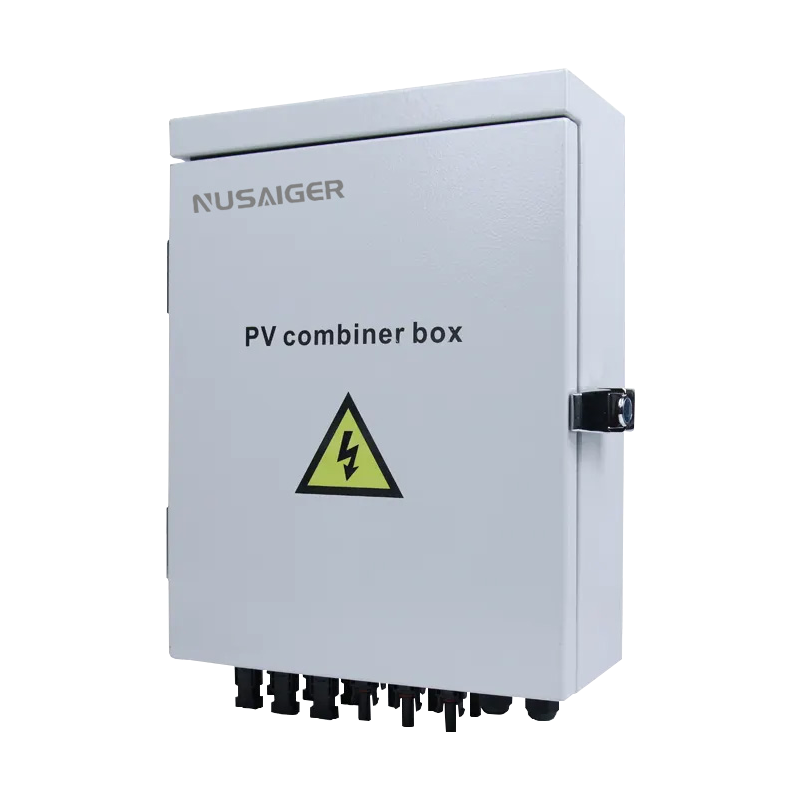
A PV combiner box is the central nervous system of a solar power plant’s DC side. When issues occur, they can impact the entire system’s performance and safety. This article provides a hands-on guide for technicians and installers on how to troubleshoot a faulty PV combiner box quickly and effectively.
Common Symptoms of a Faulty Combiner Box
No power output from certain strings
Blown fuses or tripped breakers
Overheated terminals or discoloration
Lightning surge damage
Inconsistent current readings
Step-by-Step Troubleshooting Process
Safety First
Always disconnect the system and follow proper lockout/tagout procedures before inspection.
Visual Inspection
Check for loose wires, corrosion, water ingress, or insect nests.
Look for burnt marks around terminals or fuses.
Fuse and Breaker Testing
Use a multimeter to test continuity across each fuse.
Replace only with the same voltage/current rating.
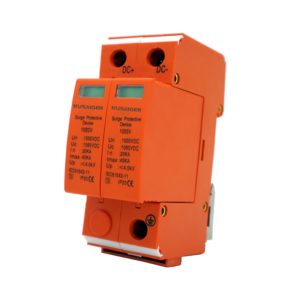
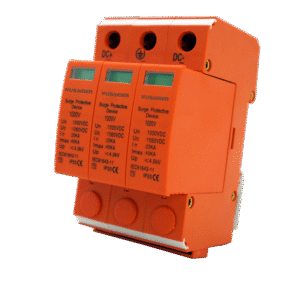
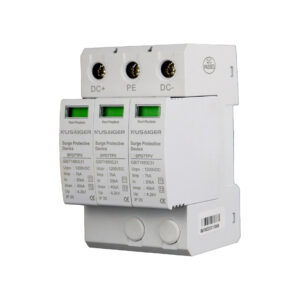
SPD (Surge Protection Device) Check
Many SPDs have status indicators. Red or “disconnected” means it needs replacement.
Thermal Inspection
Use an infrared thermometer or thermal camera to detect overheating components.
Voltage and Current Testing
Measure the voltage from each string and compare for consistency.
Abnormally low readings indicate a potential panel issue or poor connection.
When to Repair vs. Replace
Repair: Loose wires, blown fuses, SPD replacements
Replace: Melted components, enclosure damage, aged wiring (>10 years old)
Conclusion
A proactive troubleshooting approach reduces system downtime, extends component life, and ensures safe solar energy production. Technicians should maintain a regular inspection checklist to prevent issues before they occur.