MC4 Solar Connectors Installation and Maintenance Guide for Maximum Efficiency
MC4 solar connectors are critical components for photovoltaic (PV) systems. Proper installation and routine maintenance ensure reliable electrical connections and long-term system performance. This guide provides step-by-step instructions, maintenance tips, and best practices for MC4 connectors.
1. Preparing for Installation
Before installation, it is important to gather the necessary tools and follow safety precautions:
- Ensure the PV system is disconnected from power sources
- Use insulated gloves and safety glasses
- Gather crimping tools, stripping tools, and MC4 connector pliers
- Verify that cable size matches the connector rating (typically 4–6 mm²)
2. Step-by-Step MC4 Installation
- Strip the Cable: Remove approximately 6–8 mm of insulation from the cable end without damaging the conductor.
- Crimp the Terminal: Insert the stripped conductor into the metal contact and crimp securely using the appropriate tool.
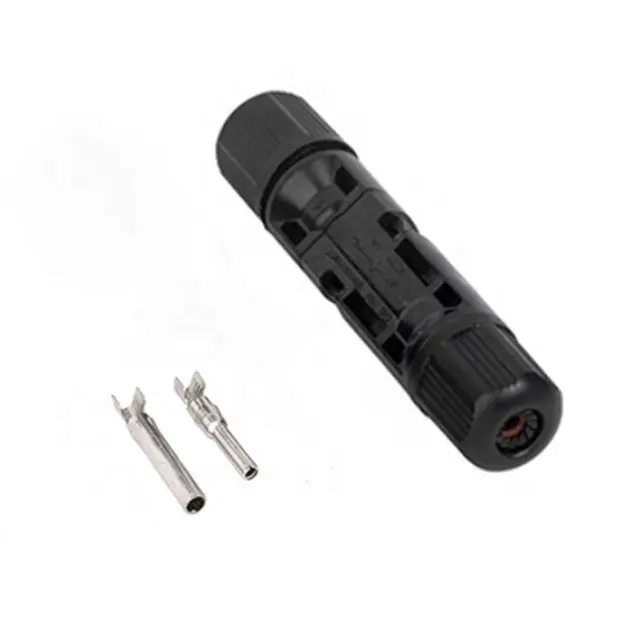
- Insert Contact into Housing: Push the crimped contact into the MC4 connector housing until it clicks.
- Check Polarity: Ensure the positive (+) and negative (-) connectors are correctly matched.
- Lock the Connector: Engage the locking tab fully to prevent accidental disconnection.
- Verify Connection: Use a multimeter to check voltage and continuity before powering the system.
3. Common Installation Mistakes
- Incorrect stripping length, which can cause loose or exposed conductors
- Improper crimping leading to poor electrical contact
- Misaligned polarity causing inverter or panel damage
- Failure to engage locking tabs, leading to accidental disconnection
- Bending cables too tightly near the connector, causing stress on the contacts
4. Maintenance Best Practices
Routine maintenance ensures MC4 connectors remain functional and reliable over time:
- Inspect connectors periodically for corrosion, dirt, or physical damage
- Clean connectors using a dry cloth; avoid chemical cleaners
- Check locking mechanism and reseat connectors if necessary
- Ensure cables are secured and strain-free
- Replace any damaged or worn connectors immediately
5. Troubleshooting Common Issues
- Loose Connection: Re-crimp or re-insert the contact properly into the housing.
- Oxidation on Contacts: Clean with contact cleaner or replace affected connector.
- Water Ingress: Check IP67 seals, replace faulty connectors, and ensure proper assembly.
- Incorrect Polarity: Verify and reconnect the positive and negative leads correctly.
- Physical Damage: Replace cracked housings or bent pins immediately to avoid energy loss or hazards.
6. Safety Considerations
- Always disconnect the PV array before maintenance or inspection
- Follow proper PPE protocols
- Do not touch live terminals during inspection
- Ensure tools are insulated and rated for electrical work
- Document maintenance activities for accountability and future reference
7. Advantages of Proper Installation and Maintenance
- Ensures maximum energy transfer from solar panels
- Reduces downtime and maintenance costs
- Prevents safety hazards and system failures
- Extends the service life of MC4 connectors and PV systems
- Improves overall system reliability and performance
8. Conclusion
Proper installation and maintenance of MC4 solar connectors are essential for reliable photovoltaic system operation. By following these guidelines and best practices, solar installers and operators can ensure safe, efficient, and long-lasting electrical connections. Regular inspection and preventive maintenance help maximize energy production while minimizing risks and operational costs.